How to seamlessly transfer your Microsoft Word macros to another computer
One of the best features of Microsoft Word is that you can create macros. With macros, you can save time and do more in less time. If you use Word regularly and have created macros that are important to your work flow, you will want to find out how to easily transfer your macros to another computer so that you don’t have to start over with them when switching computers. Here’s how to do just that.
Step 1 – Export All Macros
Select the macro you want to export and copy it. Next, in Windows Explorer navigate to C:\Users\NAME\AppData\Roaming\Microsoft\Office\15.0, where NAME is your Windows username. (For example, mine would be Hannahfang) Paste the macro into this folder. After the macro has been copied successfully, close the window and re-open Word for Macros on a PC or a Mac with Office installed. You can find this window by clicking FILE at the top left corner of the screen and selecting Import/Export from the sub-menu that appears.
Step 2 – Import Macros
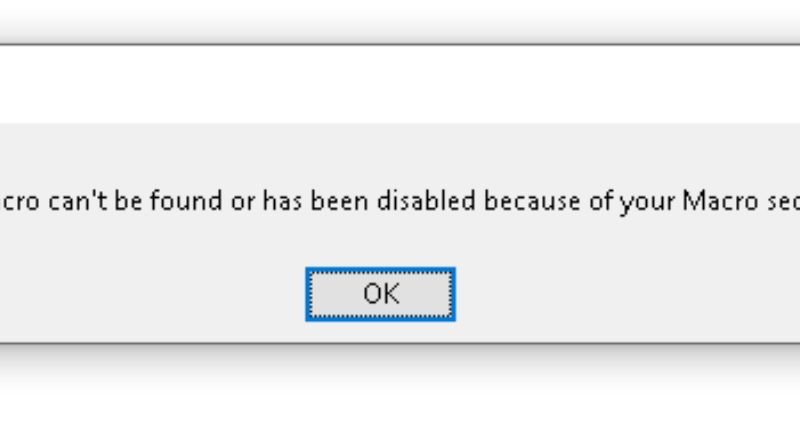
The next step is importing the macros. On your new computer, go to File and then Import Macros. Next, choose the folder that contains the extracted macros files. Click Import, and you’re all set!
Step 3 – Rebuild Any Macros That Were Removed
If any of the macros that were deleted were important for you, don’t panic! They are still on your previous computer and should be easy to restore. Some people store their Macros in a file named macros.doc located on their PC, while others find that this file is hidden by default and may have it’s name changed so it starts with an ‘M’. To find the location of this folder, navigate through Computer>My Computer>Your Username>Documents where you will find the macro file (among many other files) within a Windows folder. Now all you need to do is copy this entire folder over to the same location on your new PC.
Bonus Tip #1 – Use Custom Tools to Build Your Own
Custom Tools is an awesome developer tool that allows you to make your own tools with ease, or you can use it as a resource when you want something done quickly and efficiently. You can find this app under the Developer tab in the app store. The What-you-do tab allows you to input how the macro should work, such as what the button says and what it does. This step is all about brainstorming about what kind of things you want for this button.
# Step 2: Add Commands (ten sentences)
A list of commands should be included in order for Custom Tools to understand how this macro works. These are guidelines for adding commands to do different things, but feel free to be creative!
Bonus Tip #2 – Use Table Structures in Excel VBA Code (if applicable)
Table structures are an important part of any Excel VBA code. You can use these table structures to organize your code and separate the input from the output. This will make it easier for other users to follow what is happening in the macro, making it more likely that they’ll be able to troubleshoot when something goes wrong.
Bonus Tip #3 – Create Default Tables with Chart Tools
Here is a quick guide to how you can export and import the table formatting from an Excel spreadsheet so that it syncs with Microsoft Office 365.
In Excel, highlight the cells for the values (columns) and the cells for the headings (rows). Highlight all of these in one go by clicking on the Home tab and then clicking on Fill > Auto Table (not All Tables). When this happens, both sides will be highlighted.
Bonus Tip #4 – Check for Compatibility when Upgrading Versions of MS Office
Compatibility may not be a concern when upgrading from a version of MS Office 2007 to the newer, and most current, version of the software. However, compatibility is key if you are moving between different types of MS Office, like upgrading from an older version of MS Office 2013 to an upgraded MS Office 2016. If you are unsure about compatibility with older and newer versions of office suites, use the Compatibility Check Tool provided by Microsoft.